
Activities for biting and chewing in children
Activities for biting and chewing in children

Chewing exercises for toddlers
- For infants, learning how to bite and chew is a crucial stage of feeding development.
- At approximately 5-6 months of age, babies begin using their fingers and teethers for oral exploration using a bite and release pattern.
- The development of biting and chewing continues from this point on, with the baby refining the movements of the jaw, tongue, and lips.
- When infants miss a part of this developmental process, intervention may be necessary to develop the ability to bite and chew.
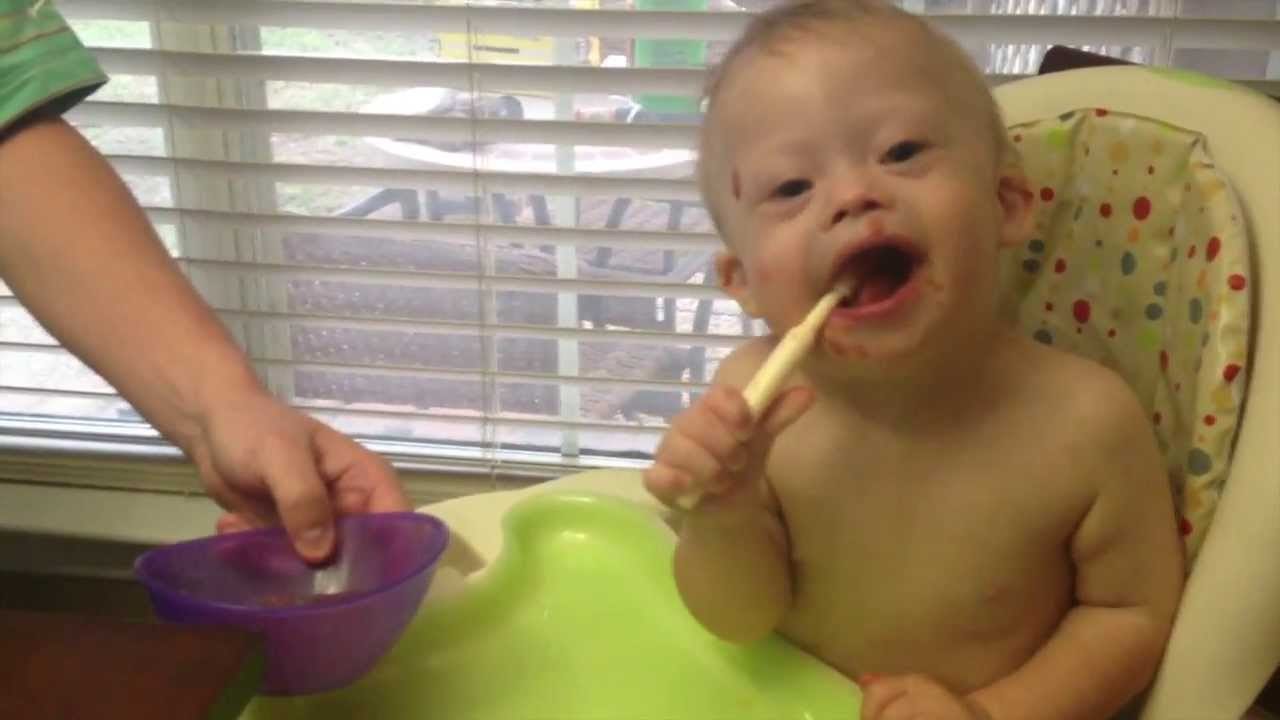
Activities:
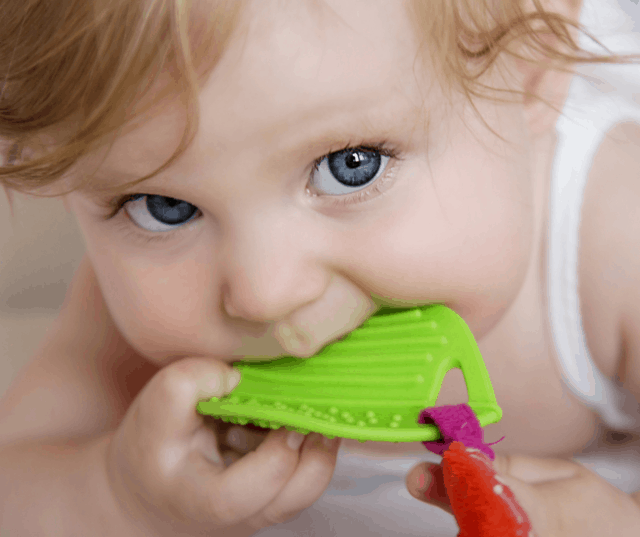
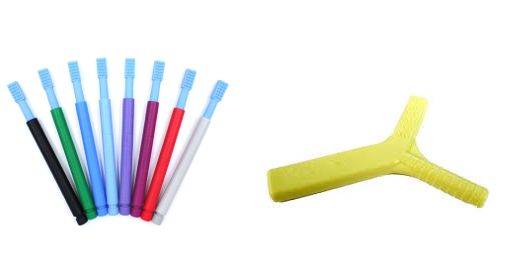
- The best way is to begin is to provide the child with the opportunity to mouth oral motor chew tools (the Grabber, Y- chew, Probe, or Animal Tips).
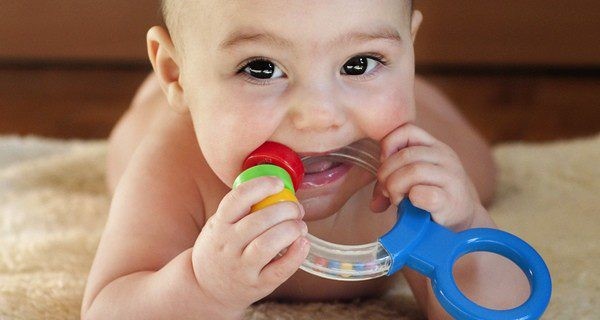
- These tools were specifically designed to increase oral awareness, to provide stimulation and tactile sensation, and to exercise the lips, cheeks, tongue, and jaw.
- Through oral exploration, the child just might begin to bite on his/her own, and from there you can progress to chewing.
- Demonstrate how to bite so that the child can see and learn what the word actually means.
- Knowing the vocabulary will be an important part of learning as you encourage the child to bite and chew.
- Over-exaggerate the movement to help communicate the concept.
- Use actual food when showing.
- You can also use puppets with mouths to help show biting (and later chewing).
- Take turns with the child to feed the puppet. Make it fun and playful.
- Make a biting sound or a glottal /um/ sound. Try having the child feed you.
- A vertical chewing pattern (an up-and-down opening and closing of the mouth) will begin to develop first.
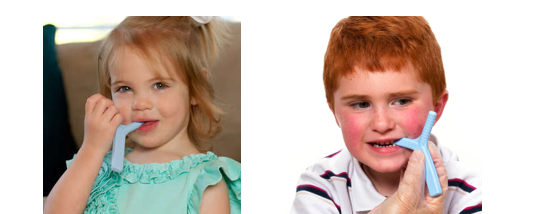
- Place either a Grabber or Y-Chew in between the molar area and assist the jaw to open and close.
- Use the word ‘bite’ as you are directing the jaw to close on the tool being used.
- Use a mirror for the child to watch himself/herself and you demonstrating a bite.
- Discontinue using the mirror if it becomes too distracting.
- Once the child knows the vocabulary word ‘bite’ and can perform the skill, add the word ‘chew.’
- Have the child place his/her hands on your jaw to feel you bite and chew.
- This is to give visual and tactile feedback to better understand the concept.
- You may have to put your hands over his/her jaw to assist.
- Once the child understands the concept of chewing, you can start practicing it with him/her.
- Place a Grabber or Y-Chew between the premolars and instruct the child to chew.
- You may have to guide the jaw to open and close.
- Work up to 20-25 chews in a row on each side of the mouth.
- For added oral awareness through vibration, you can also use the Z- Vibe with a bite and chew tip.
- If using a Grabber, have the child bite and chew on the loop as well.
- If using a Y-Chew, place the handle sideways across the front teeth.
Chewing exercises for toddlers
- This works on both sides of the mouth at once for bilateral chewing and jaw strength and stability.
- Alternate sides to promote the development of a rotary chewing action.
- Have the child bite and chew 3-5 times on one side of the mouth and then switch to the other side.
- Remember to have the chew tools placed to the side of the mouth, in between the pre-molar area.

- As the child progresses, move the Grabber or Y-Chew to the back molar area where the chewing of foods occurs.
- If the child gags, move back toward the bicuspids and slowly, over time, progress to the molar area.
- Once you are comfortable with the child’s ability to bite and chew, dip the chew tools into puréed or sticky foods and continue the biting and chewing exercises.

Pairing these tools with real food helps to bridge the gap between practicing chewing and actually chewing real food.
- To assist with texture acceptance, begin using the Smooth Grabber and progress to the Textured Grabber.
- Then dip the Textured Grabber into puréed or sticky foods and continue with biting and chewing exercises.
Chewing exercises for toddlers
- If using the Z-Vibe, begin using the Bite-n-Chew Tip and progress to the Textured Bite-n-Chew Tip.
- When the child bites down, he/she will get ‘rewarded’ with a taste of food to help connect the concept of chewing to getting food.
Things to remember:
- It’s important to note that some children may seem frightened to eat because they know they do not have the oral motor skills necessary to handle food.
- These children are reacting to real fear and not just refusing to eat.
- In this instance, you may need to work on bolus formation, tongue awareness, tongue lateralization, first.
- Other children may refuse to eat because of oral sensitivities, which would also need to be addressed.
- It’s also important to note that anyone who has direct contact with the child (caregivers, interventionists, ABA therapists, etc.) should be on board to follow through with intervention strategies.
- The best results happen when therapy is reinforced at home in between sessions. The more opportunities presented, the better.
- However, the child should never be forced to mouth, bite, or chew.
- Teaching these skills takes time, lots of patience, and creative thinking.
- Talk about the tools and let children feel them in their hands and on their arms first.
- Then progress to the face, cheeks, lips, and inside the oral cavity.
- Incorporate food play into your feeding practice.
Last but not least, remember to praise, praise, praise. Use reinforcements that cater to the child’s interests. Get excited about the progress, no matter how big or small it may seem.
Happy learning!
Feel free to contact us if you are still facing challenges to teach these skills to your children.
If you wish to know more about Speech Therapy, kindly contact us at info@1specialplace.com
https://therakonnect.com/appointments/book/1specialplace
For more ideas check out our other blogs https://1specialplace.com/news/

Speech Language Pathologist at 1special place
Latest posts by Priyanka Rawat (see all)
- Famous people with Autism/ADHD - August 16, 2022
- When is Speech Therapist needed? - March 26, 2022
- Best Toys for Speech Stimulation for Toddlers - June 21, 2021
Leave a Comment
(0 Comments)