
Oral Motor Exercises for Down’s Syndrome
Oral Motor Exercises for Down’s Syndrome
“We can complain because rose bushes have thorns, or rejoice because throw bushes have roses”- Abraham Lincoln
Oral Motor Exercises for Down’s Syndrome
This blog is on Oral Motor Exercises for Down’s Syndrome. Today we are going to talk about these adorable and loving children who are a little special to us because of the extra chromosome in them- know to us as Children with Down Syndrome. Hence, we will try to cover the oro-motor concerns in children with Down syndrome. Further, it is of particular interest to us since it involves muscles that are involved in eating and talking. Additionally, before going ahead let’s try to understand what causes these oral-motor issues in this group of children. Therefore, we will talk about Oral Motor Exercises for Down’s Syndrome.

As known by many, children with Down syndrome have lower muscle tone- hypotonia. Hence, as a result of this, the muscle strength is less leading to reduced movements, speed is affected and movements are un-coordinated. Thus, this is evident in the muscles of the tongue, jaw, lips, cheeks, and palate. Furthermore, as a result of this children show difficulty in learning feeding skills like sucking, chewing, and swallowing. Moreover, children with Down syndrome have issues in learning speech and language. Additionally, language development is usually slow as compared to their peers. Besides, they also have speech sound errors/ misarticulations, voice is different, intonation is affected, etc.
Further, apart from the hypotonia, sometimes co-morbid conditions which are present in this group of children also affect the development of feeding and speech and language skills. Therefore strengthening the muscles, to overcome the lower tone becomes very important and is an integral part of the therapy regime. Thus, before we go into the details of what to do, it becomes very important to know how to go ahead with the oro-motor exercises. Hence, key points to remember are:
-
- Do the exercises at regular interval
- Follow the step by step procedure when you are doing the exercise
- Do it in a playful manner
- Start from simple and go to complex exercises
Oral Motor Exercises for Down’s Syndrome
Exercises of the lips
Therefore, the following exercises are designed in such a way that they help to increased the strength of the lip muscles, increases the range of motion of lips, and helps to ease the movement. Similarly, repetition of the exercises in steps helps to meet the target goal easily.
1. Lip Retraction
Smile. Ask the child to imitate a smile and hold for 5 seconds.
Relax and repeat 5 times.
2. Lip Protrusion
Ask the child to pucker the lips as if you were going to kiss someone. Hold for 5 seconds, relax and repeat 5 times.
3. Lip Retraction and Protrusion
Repeat the exercises given in numbers 1 and 2 with exaggerated movements. Repeat 5 times.
4. Lip Press
Ask the child to press the lips tightly together for 5 seconds. You can do it and ask the child to imitate it. Relax and repeat 5 times.
5. Lip Press on Tongue Depressor
Ask the child to tightly press lips around the tongue depressor, while you try to remove it. Additionally, instruct them to perform for 3 to 5 seconds, relax and repeat 5 times.
Advantages of the lip exercises:
-
- Helps with better lip closure
- Aids in reducing drooling
- Helps to produce bilabial sounds with better clarity
- Is also helpful to have a better lip seal while the child is eating
Exercises for the cheeks
The following exercises are designed to improve the strength of the cheek muscles, increase the range of movements of cheek muscles and ease the movements.
1. Cheek Puff exercise
First, ask the child to take in a deep breath and puff your cheeks out. Next, hold the air in the cheeks by tightly closing the lips together. Additionally, instruct them to hold the air in the cheeks for 5 seconds.
2. Alternate Cheek Puff Exercise
Instruct the child to take in a deep breath and only hold air in the left cheek. Further, then switch and hold air only in your right cheek. Additionally, fill cheeks with air, move air from one cheek to the other 5 to 10 times. Further, tell the child that during this exercise no air should escape from around the lips or the nose. Similarly, you can give tactile feedback to the child if required by placing their finger under the nose. Finally, relax and repeat 5 times.

3. Making a fish face
Ask the child to pull their cheeks inside like that of a fish. Ask them to hold it for 5 seconds, relax and repeat 5 times.

Advantages of the cheek exercises
-
- Help to increase the strength of facial muscles, which helps to improve blood circulation and tone.
- It also firms and tightens the skin of the face.
Exercises for the tongue
1. Tongue Extension exercise
Ask the child to protrude tongue between lips. Instruct them to stick out the tongue as far as possible and hold the tongue steady and straight for 3 to 5 seconds. Relax and repeat 5 times.
Once the child can do the above, repeat the same by applying resistance. Ask the child to stick out the tongue. Put something flat, such as the back of a spoon or a tongue blade against the tongue. Ask them to push against the tongue with the flat object. Hold it for 2-3 seconds, relax and repeat 5 times.
2. Tongue Retraction exercise
Firstly, ask the child to retract the tongue. Secondly, imitate touching the back of your tongue to the roof of your mouth (as if producing the /k/). Thirdly, ask them to hold for 1 to 3 seconds, relax and repeat 5 times.
3. Tongue Extension and Retraction exercises
Now, combine the exercises in numbers 1 and 2. Then, instruct the child to alternate between the exercises, as fast as possible. Finally, instruct the child to hold in each position for 1 to 3 seconds, relax and repeat 5 times.
4. Tongue Tip-Up exercise
First, ask the child to place the tongue on the alveolar ridge, (the area behind the top teeth.) Secondly, instruct the child to open mouth as wide as possible maintaining tongue contact. Finally, hold for 3 to 5 seconds, relax and repeat 5 times
5. Tongue Elevation along with the palate exercise
Ask the child to place the tongue tip on the alveolar ridge. Instruct them to move in anteriorly to posteriorly along the palate. Relax and repeat 5 times.
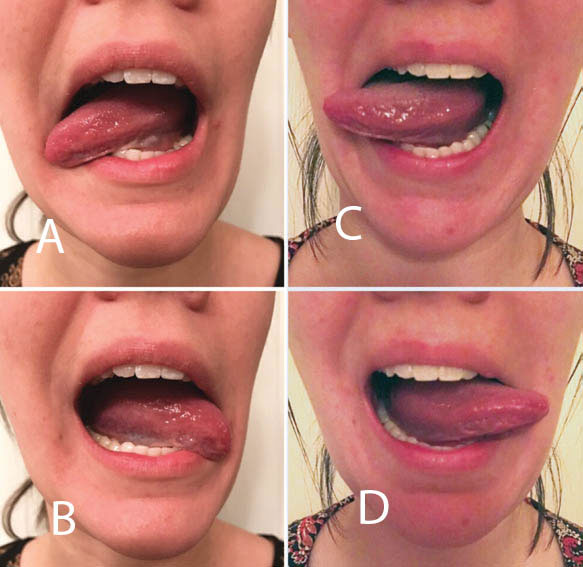
6. Tongue side to side exercise
Ask the child to put the tongue tip to the left side of the mouth and hold it for 3 to 5 seconds. Next, ask them to place the tongue tip to the right side of the mouth and hold for 3 to 5 seconds. Relax and repeat 5 to 10 times.
Once the child can do the above exercises, instruct them to extend the tongue as far as possible to the corners of the mouth, while you try to press it against a tongue depressor. Hold for 1 second and repeat 5 times.
7. Tongue Tip-Up – Jaw Down
Instruct the child to lower their jaw as far as possible while keeping their tongue tip up behind the top gums/teeth. Ask to hold for 1 to 3 seconds, relax and repeat 5 times.
Advantages of the tongue exercises
-
- Helps with tongue strength and movements
- Better productions of tongue tip sounds
- Better swallowing abilities
1. Jaw Opening exercise
Instruct the child to open the jaw as wide as possible until you feel a stretching, but no pain. Ask them to hold this furthest open position for 5 seconds then relax and close your mouth. Repeat this open posture 5 times.
2. Side-to-Side Movement exercise
Ask the child to move the jaw to the right side as far as you can until it pulls but does not hurt. Instruct them to hold it there for 5 seconds then relax. Later, move the jaw to the left side as far as possible until they feel a stretch but it does not hurt. Finally, hold it there for 5 seconds then relax.
Also, alternate this right to left movement 5 times.
3. Increasing Circular Jaw Movement
Ask the child to move the jaw around in a circle making it move as far in each direction as possible until they feel a stretch but no pain. Further, in this circular movement, the child will be increasing the range of motion in all directions.Moreover, repeat the circular movement 5 times.
Advantages of jaw exercises
-
- Better strength and movement of jaw muscles
- Helps in improving the clarity of speech
Fun with oro- motor exercises at home
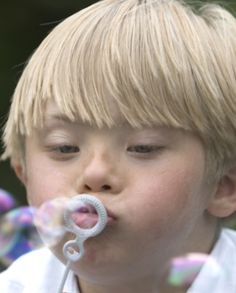
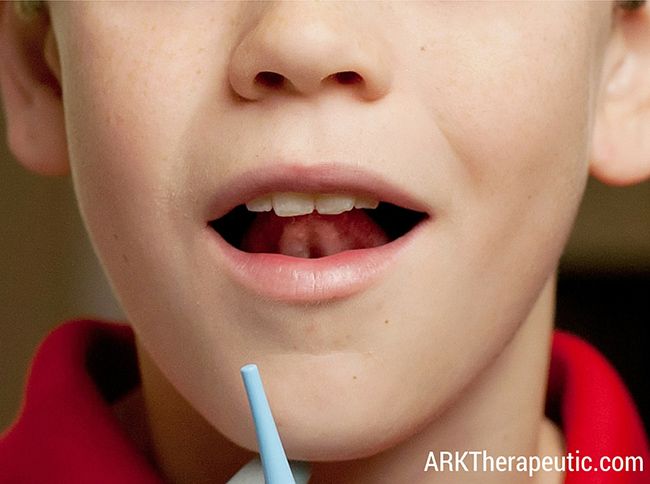
- Blowing Bubbles: It helps to strengthen muscles of the lips and improves breath control.
- Licking peanut butter or marshmallow crème from the roof of the mouth or behind the top front teeth. It helps to improve tongue elevation/lifting.
- Chewing gum improves jaw strength.

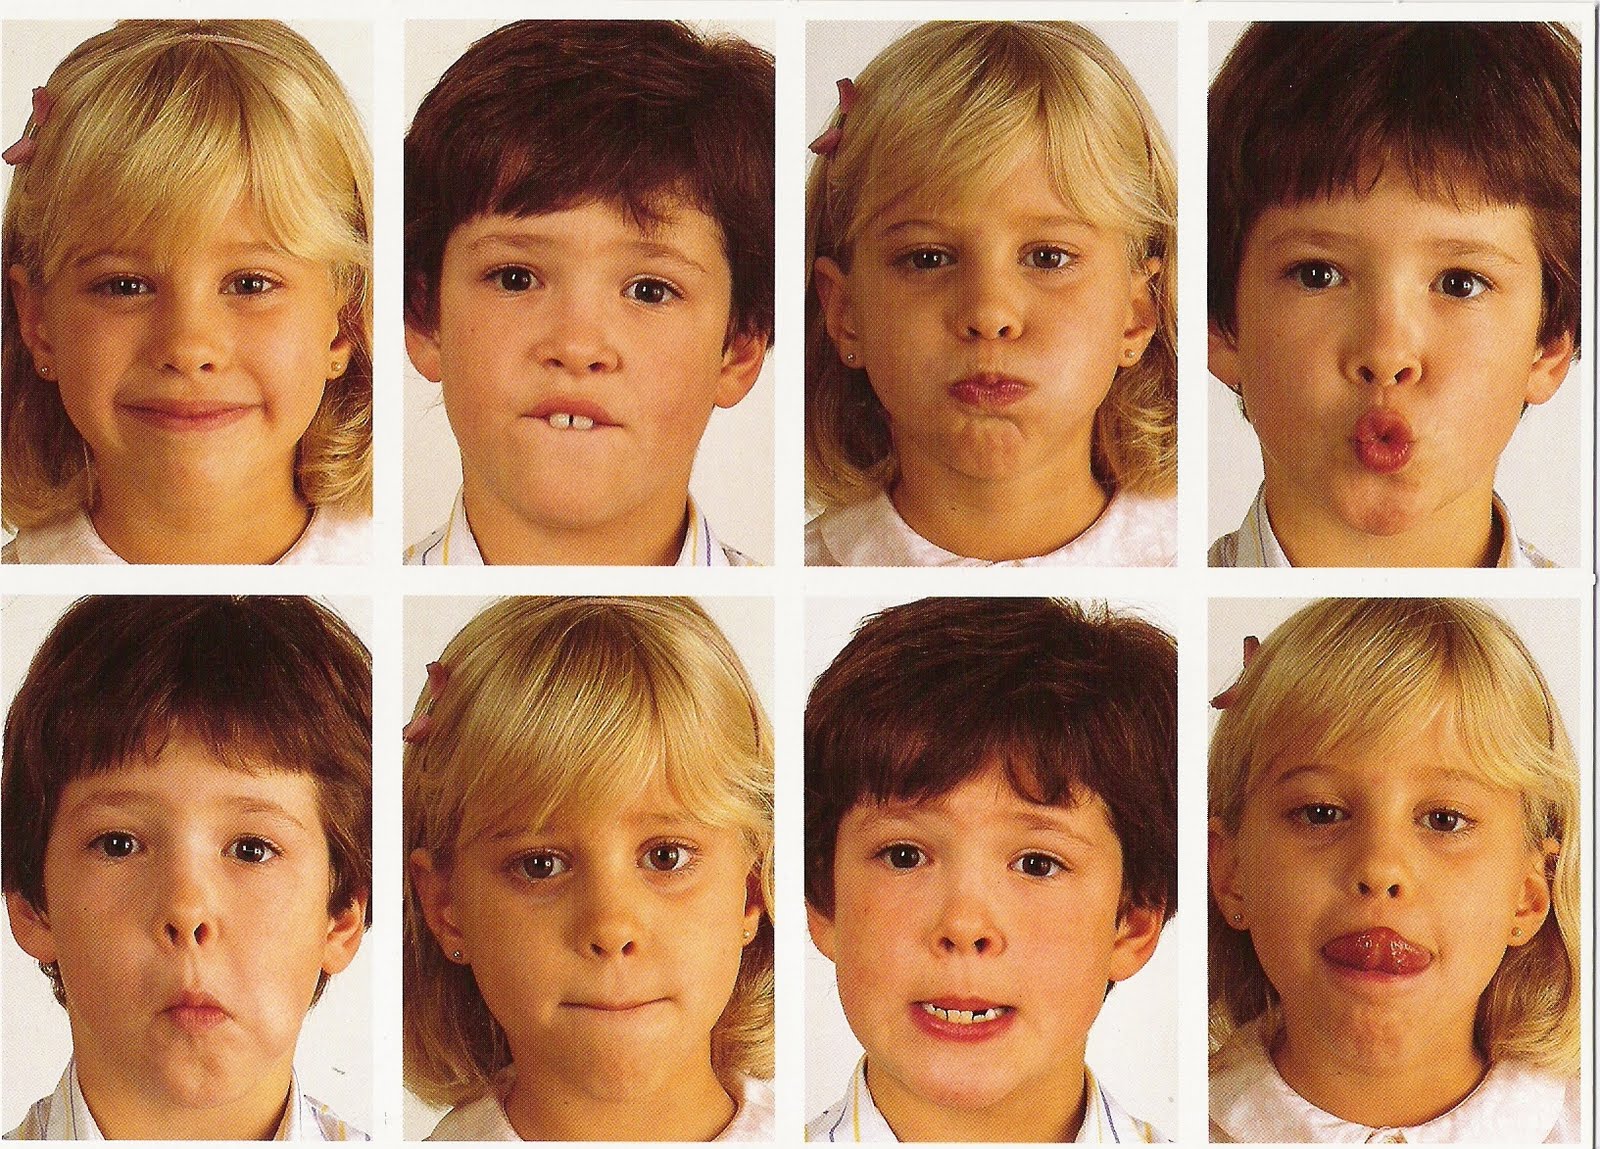
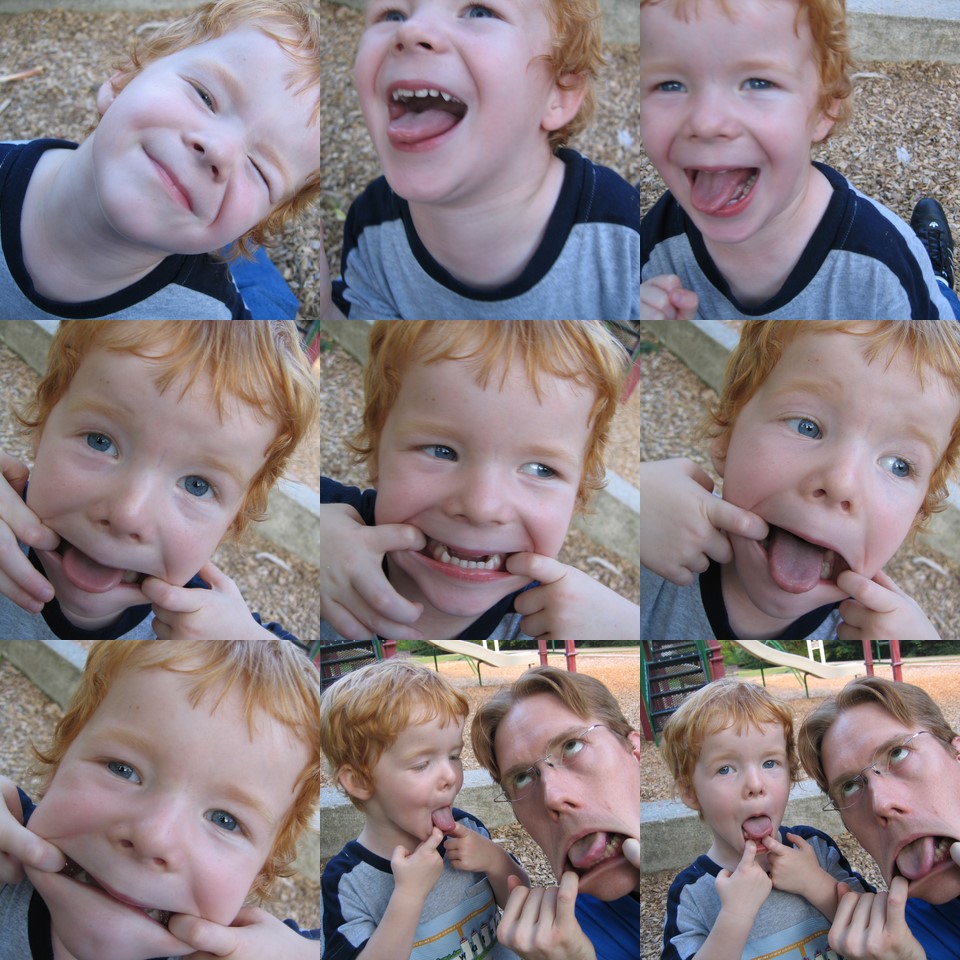
- Making silly faces: It helps to improve strength, coordination and range of motion of the lips, jaw, and tongue.

- Speech Activities for Father’s Day - June 21, 2021
- Speech tips for Muscular Dystrophy - June 9, 2021
- Practical Tips for Apraxia of Speech - May 29, 2021
Leave a Comment
(2 Comments)
Nice Article about Exercises for Down’s Syndrome Exercises of the lips,,, Impressive. As with any routine, consistency is the secret to the best results. The more you practice your Face Yoga exercises, the better your results.
Hi Shailaja, very well written. Thank you for compiling all the important points. So useful
Categories
Recent Posts